RecoverPoint for VMs upgrade to v5.3 with HTML plugin

After a long wait, Dell released the new RecoverPoint 5.3 providing the HTML plugin and the support for VMware vSphere 7.0.
To take benefit of the new HTML plugin, the target vSphere version must be 6.7 U1 or above. For lower versions, the flex plugin remains the administrative console in vCenter instead.
Upgrade the vRPA cluster
The upgrade procedure requires a specific order of the RecoverPoint components to process to avoid service disruption. If you have at least two vRPAs per vRPA cluster, the upgrade is not disruptive for replication jobs and can be easily completed. Check out this guide to upgrade the vRPA cluster.
Both source and DR vRPA clusters must be upgraded to take benefit of new features. Download from Dell website the lastest version of RecoverPoint for VM.
Source and DR vRPA clusters
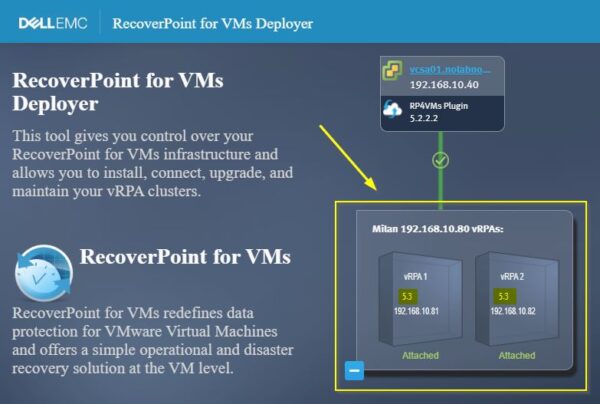
The source vRPA cluster upgraded to version 5.3.
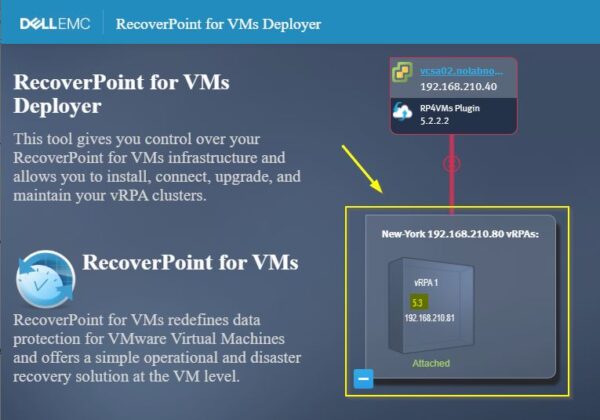
Also the DR vRPA cluster has been upgraded to version 5.3.
Upgrade Splitters and JAMs automatically
Since the upgrade procedure to upgrade splitters and JAMs for entire ESX cluster requires to put the host in maintenance mode, you must have at least two hosts ESXi to maintain uninterrupted replication.
Before proceding make sure the DRS feature is enabled and set as Automatic in the vSphere cluster.
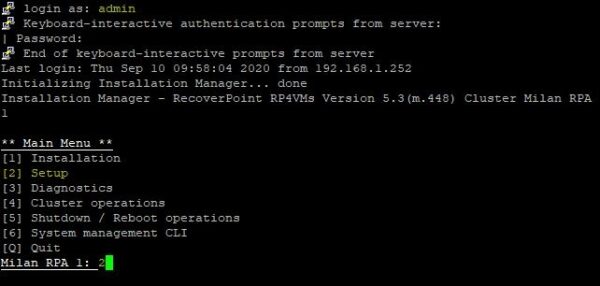
SSH one vRPA in the cluster and enter the admin credentials to login. In the Main Menu options, access the Setup section by typing 2. Press Enter.
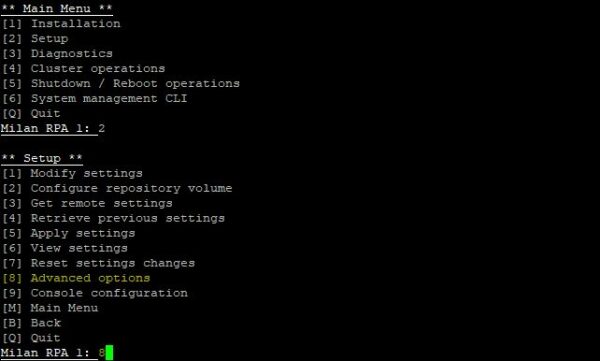
Select Advanced options option. Type 8 then press Enter.
Select Splitter actions option. Type 12 then press Enter.
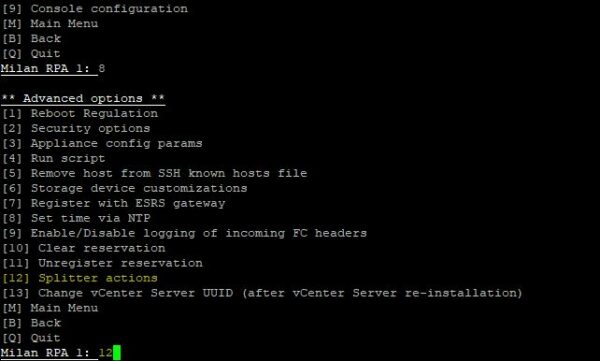
Select Upgrade Splitter option. Type 1 then press Enter.

Enter the required parameters:
- vCenter Server IP addres
- TCP port number
- Username
- Password
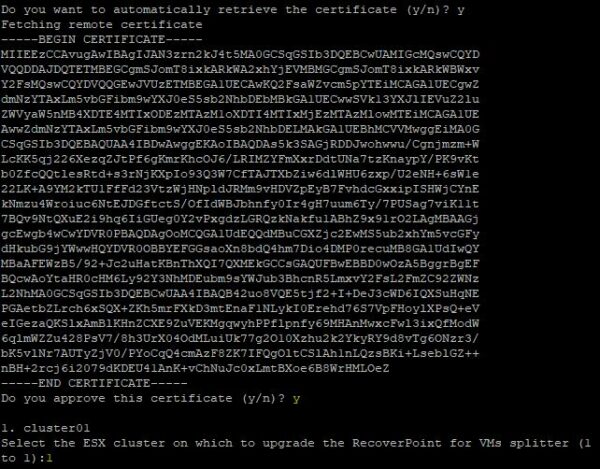
Type y then Enter to retrieve the certificate.

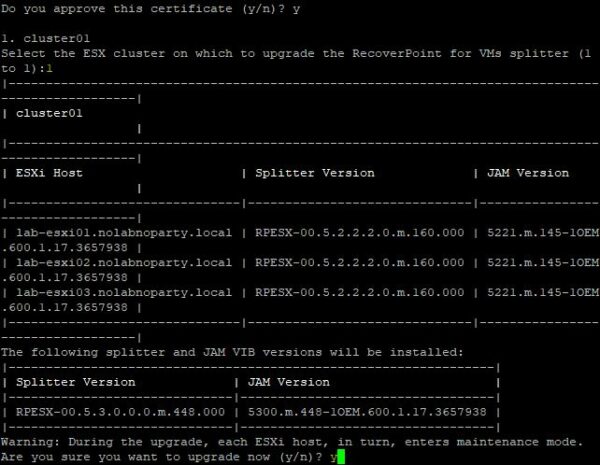
Type y to approve the certificate. Specify the ESX cluster to upgrade (1 in the example).
Type y to begin the upgrade process. Each ESXi host enters in Maintenance Mode and splitter and JAM VIBs are upgraded accordingly.
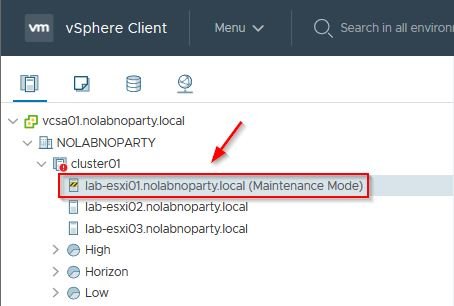
VMs are moved out from the processed ESXi host.

The host is then placed in Maintenance Mode.
When the upgrade process has been completed, type q to quit.
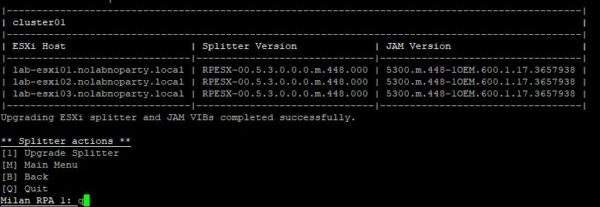
Splitters and JAMs are now upgraded to version 5.3.
Manually upgrade a single ESXi host
If your vRPA cluster contains only one vRPA, you need to perform a manually upgrade procedure. In this scenario you must pause all replications before starting the upgrade and power off running VMs.
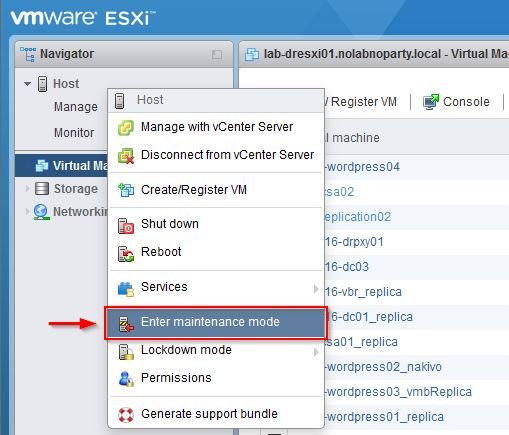
Put the host to upgrade in Maintenance Mode and access the host console via SSH.
Check the installed version with the following commands:
# esxcli software vib list | grep rp
# esxcli software vib list | grep emc

Upgrade the splitter
Using a tool like WinSCP, copy the kdriver_RPESX-00.rel5.3_m.448.vib file to the ESXi host to upgrade.
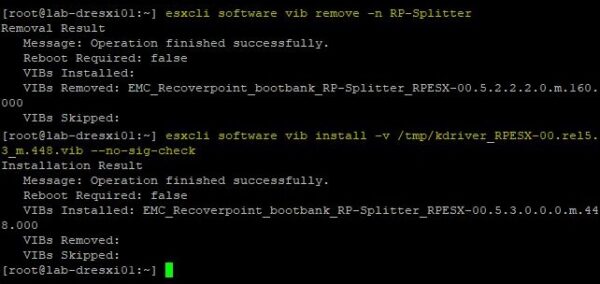
Remove the old version of the splitter and install the new one with the following commands:
# esxcli software vib remove -n RP-Splitter
# esxcli software vib install -v /tmp/kdriver_RPESX-00.rel5.3_m.448.vib –no-sig-check
Upgrade JAMs
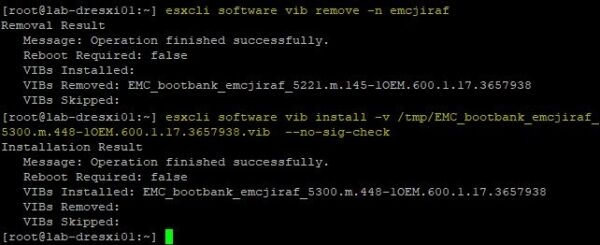
Copy the EMC_bootbank_emcjiraf_5300.m.448-1OEM.600.1.17.3657938.vib file to the host then remove the old version and install the new one. You may need to reboot the host if you can’t remove the old JAMs.
# esxcli software vib remove -n emcjiraf
# esxcli software vib install -v /tmp/kdriver_RPESX-00.rel5.3_m.448.vib –no-sig-check
Upgrade the flex plugin
If the installed vSphere version is below 6.7 U1, the flex plugin is the only option you have to manage RecoverPoint from the vCenter.
In vSphere Client, access the dashboard from Menu > RecoverPoint for VM. Click Help and select Upgrade RecoverPoint for VM.

Select 5.3.0.0 as version to upgrade to.
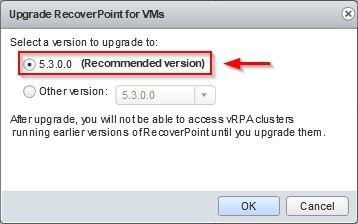
Click OK.
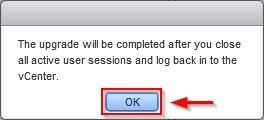
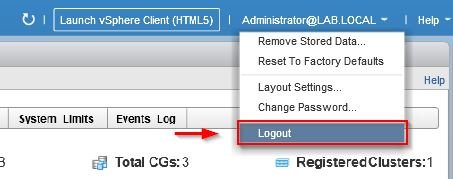
Logout and login again to enable in vCenter the new version 5.3 of the flex plugin.
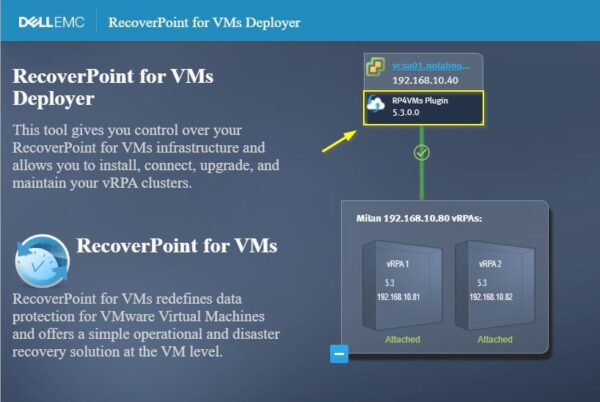
Checking the RecoverPoint for VMs cluster management, the plugin has been upgraded successfully.
Install the HTML appliance
To enable the HTML plugin in vCenter, you need to install the new appliance that manage this service.
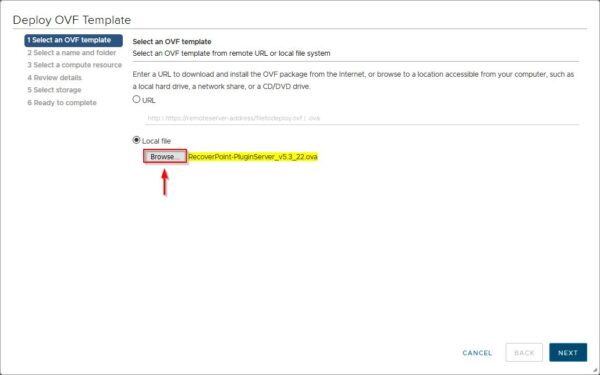
Run the Deploy OVF template wizard from vSphere Client. Click Browse and select the .OVA file to use and click Next.
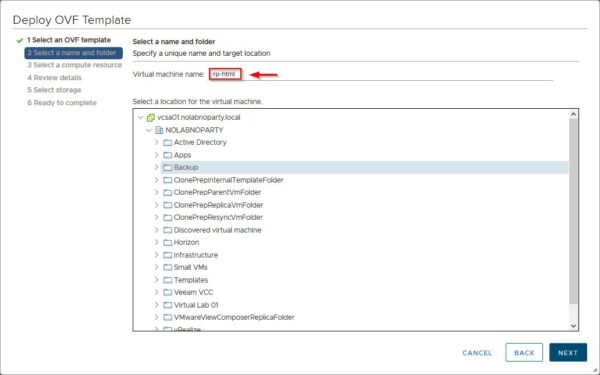
Specify the Virtual machine name and a location then click Next.
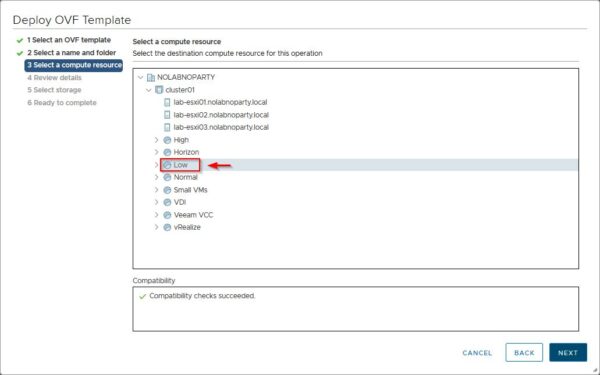
Select the compute resource to run the appliance and click Next.
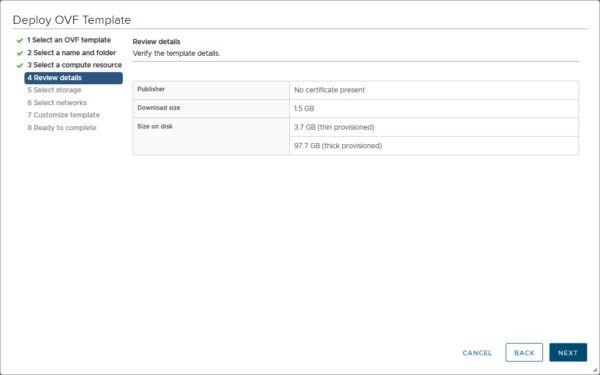
Click Next.
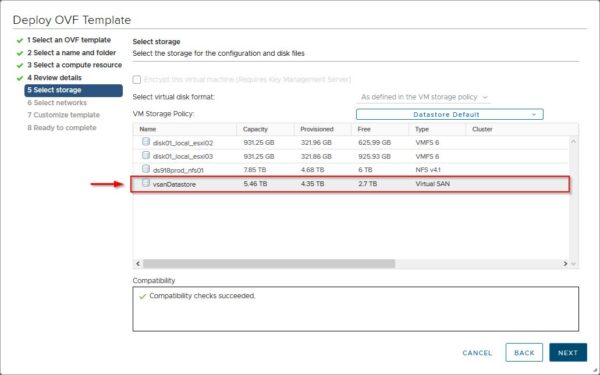
Select the datastore to use and click Next.
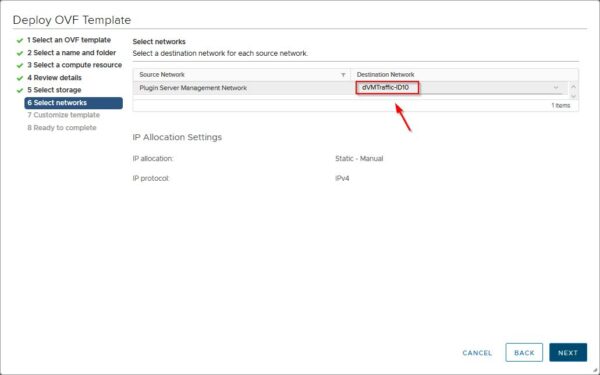
Specify the correct Destination Network (it should be the VMs traffic network) and click Next.
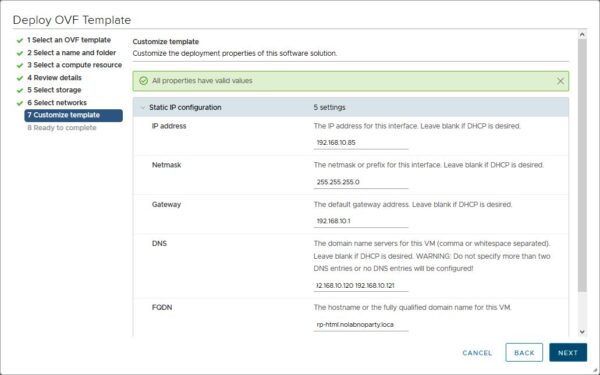
Enter the network parameters and click Next.
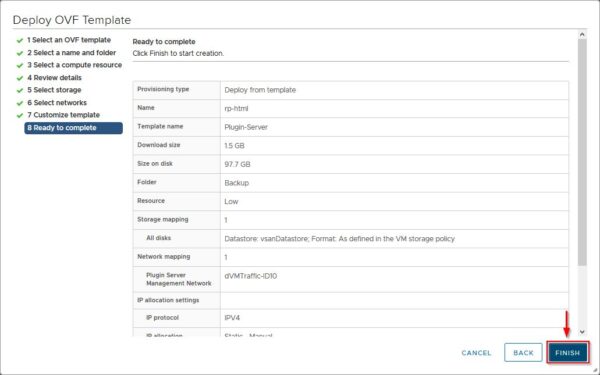
Click Finish to proceed with the installation.
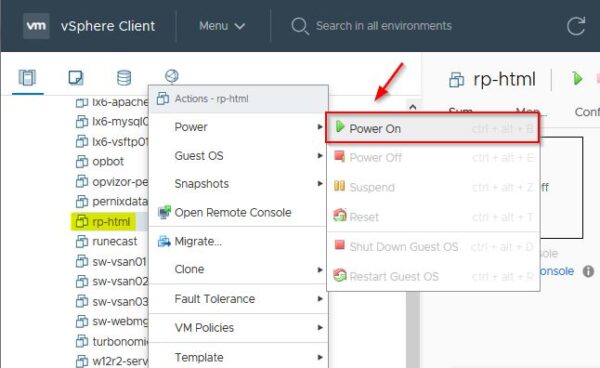
When the installation has been completed, right click the appliance and select Power > Power On.
Configure the HTML plugin
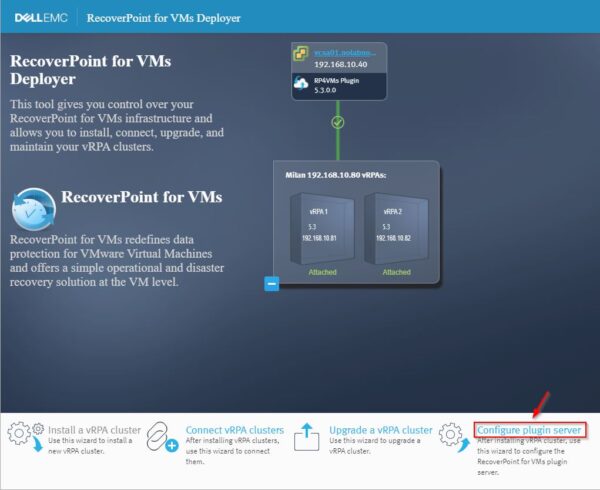
Access the RecoverPoint for VMs cluster management and click on the Configure plugin server link.
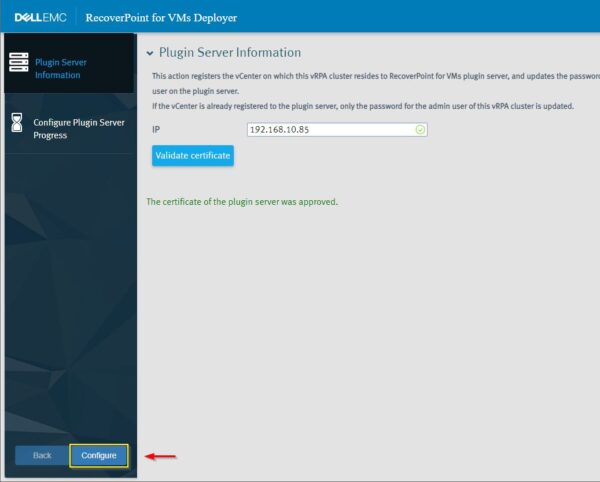
Enter the IP address for the plugin server and click Validate certificate.

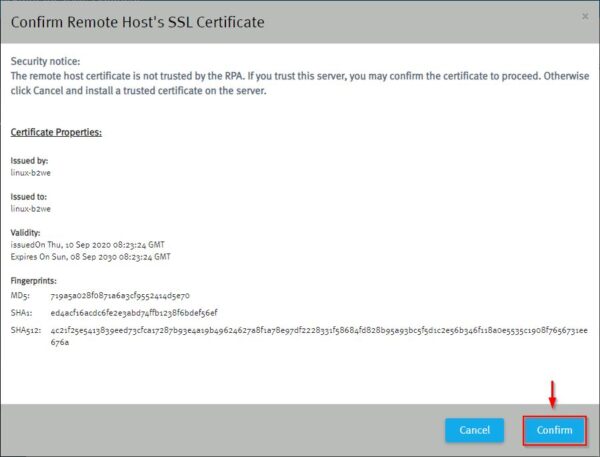
Click Confirm to approve the certificate.
The certificate has been approved. Click Configure.
After few seconds the plugin configuration completes. Click Finish.
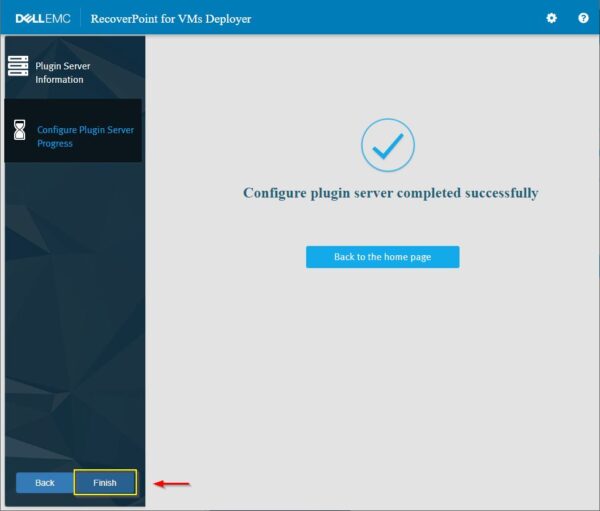
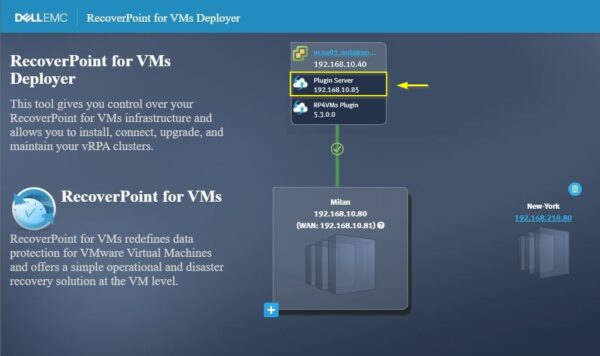
The Plugin Server has been configured in the vRPA cluster.
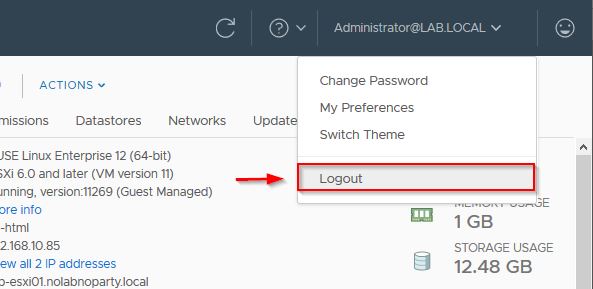
To enable the new plugin it is recommended to Logout from the HTML vSphere Client, and then to log in again.
When you login again, refresh the browser to activate the plugin.

From the HTML vSphere Client, navigate Menu > RecoverPoint for VMs to access the the HTML ReoverPoint area.
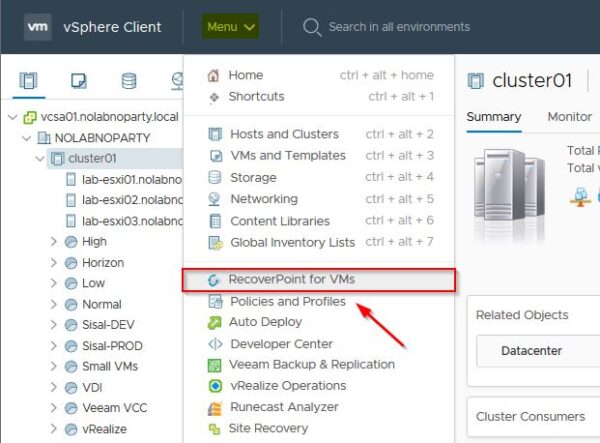
The HTML RecoverPoint plugin.
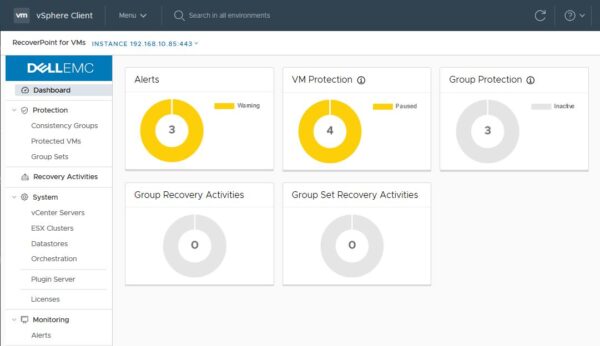
vRPAs clusters are discovered by the plugin server and registered to the vCenter Server. As a result, the plugin server knows how to direct API calls to the correct vRPA cluster.


