Nakivo Backup & Replication: store backups in AWS S3
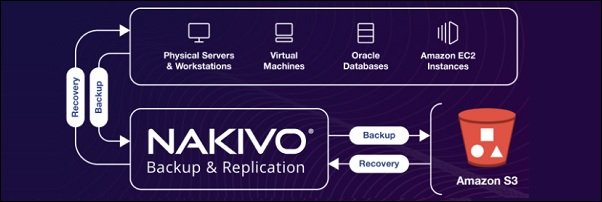
To fulfill the 3-2-1 backup rule, Nakivo Backup and Replication provides the support for cloud object storage in order to save backups in AWS S3.
Feature already available from previous version, the overall procedure is pretty simple and requires just few minutes to be configured.

Prepare the AWS S3 environment
Before saving Nakivo backups in AWS, you need to create the appropriate Bucket to configure the backup repository.
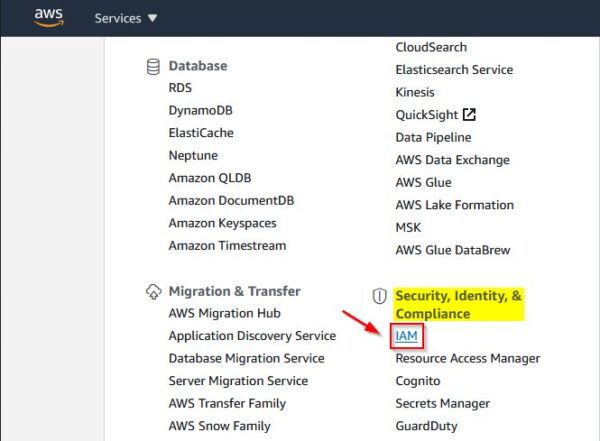
Login to AWS and click the link IAM under Security, Identity, & Compliance.
Create the permissions Policy
We need to create a Policy to assign the required permissions to the Bucket used as backup repository.
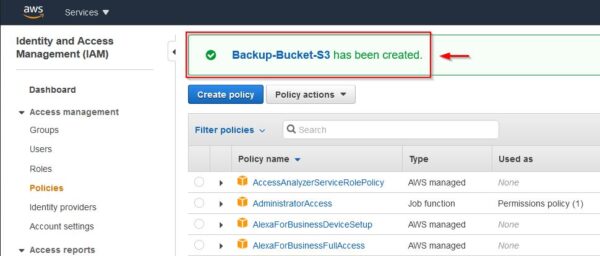
From the IAM dashboard, click Policies in the left pane.
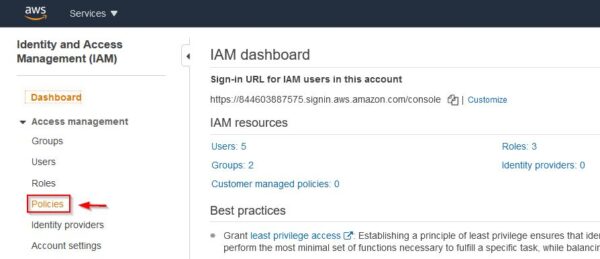
Click Create policy.
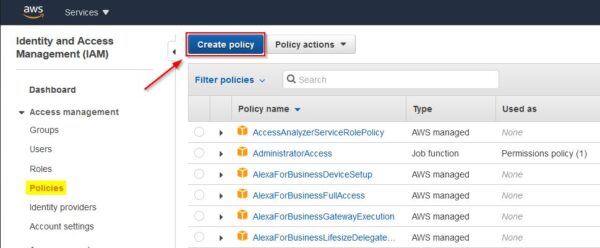
Select the JSON tab and enter the following code:
{
“Version”:”2012-10-17″,
“Statement”:[
{
“Sid”:”statement1″,
“Effect”: “Allow”,
“Action”: [
“s3:Get*”,
“s3:List*”,
“s3:PutObject”,
“s3:DeleteObject”
],
“Resource”: [
“*”
]
}
]
}
Click Review policy when done.
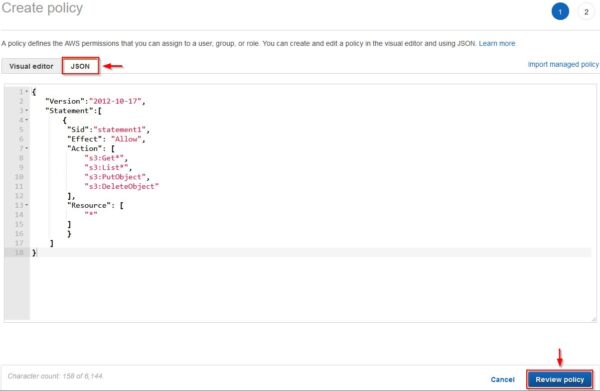
Specify the Policy Name and optionally a Description. Click Create policy.
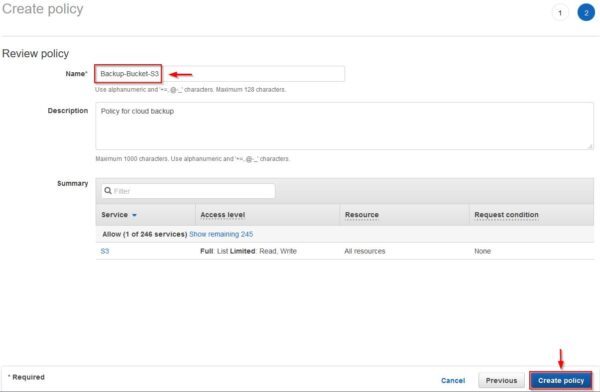
The policy has been created successfully.
Create a new User
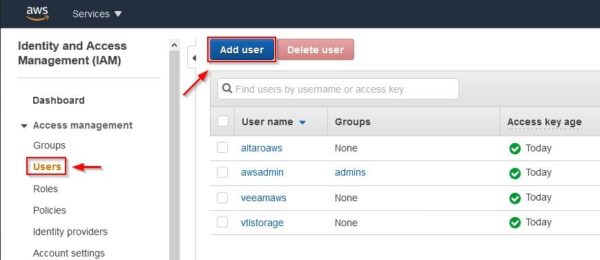
Now access the Users section and click Add User to create the user needed to access the Bucket.
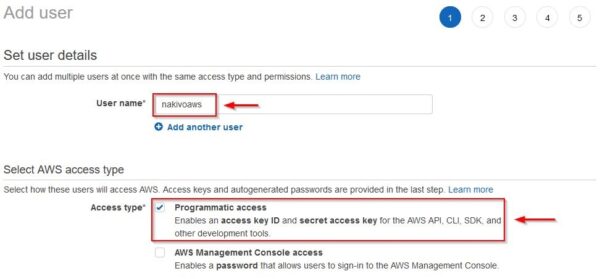
Specify a User name and enable the Programmatic access option. Click Next: Permissions at the bottom right.
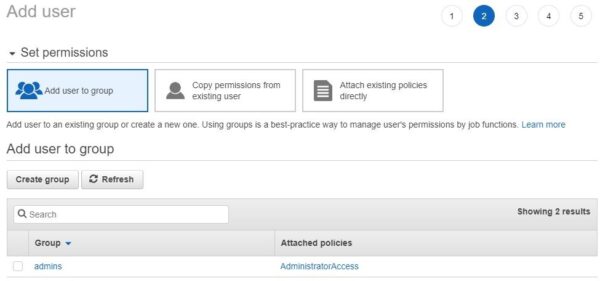
Permissions are assigned later using a dedicated group we are going to create. Click Next: Tags.
Click Next: Review.

In the Review page check your configuration then click Create user.
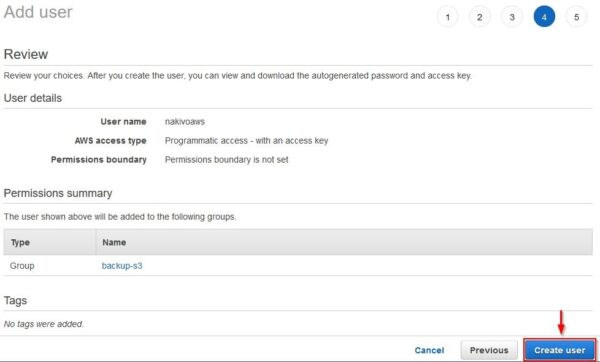
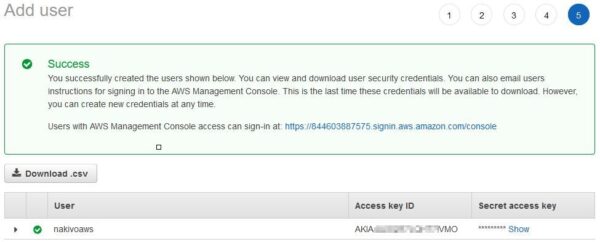
The user has been created successfully. Write down Access Key ID and Secret access key since they will be required during the Nakivo AWS repository configuration.
Create a new Group
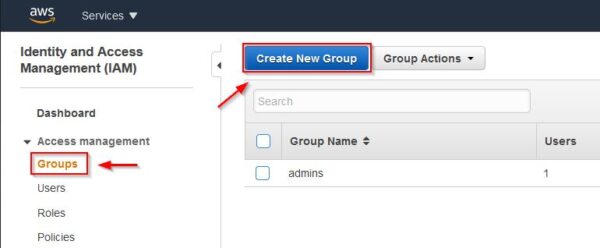
Access the Groups section and click Create New Group.
Enter a Group Name and click Next Step at the bottom right.

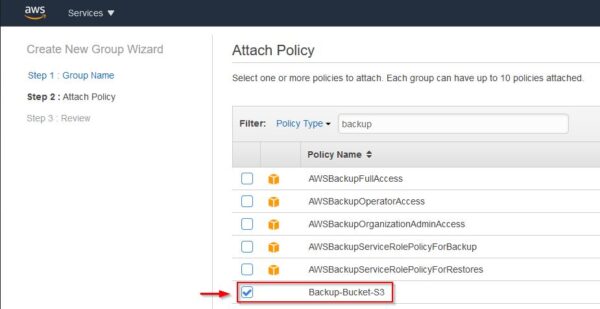
Select the policy previously created (use the Filter to easily find the policy) then click Next Step.
Click Create Group.

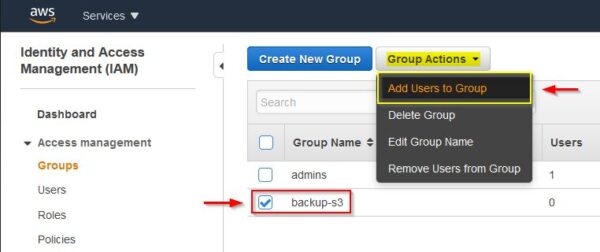
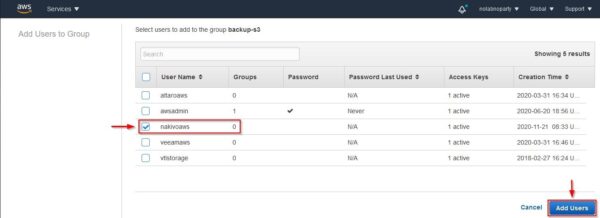
When the group has been created, select the group then click on the Group Actions drop-down menu. Select Add Users to Group.
Select the user to add to the group and click Add Users.
Create the Bucket
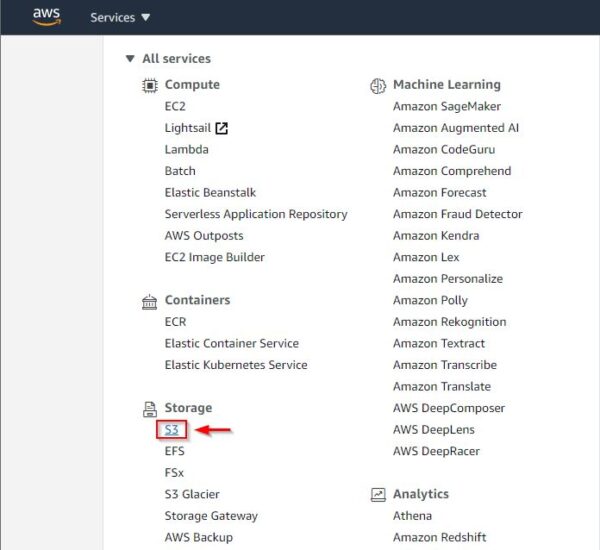
Final step is the creation of the Bucket used to store the backups. Click S3 under Storage.
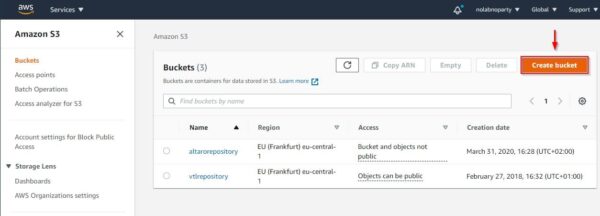
Click Create Bucket.
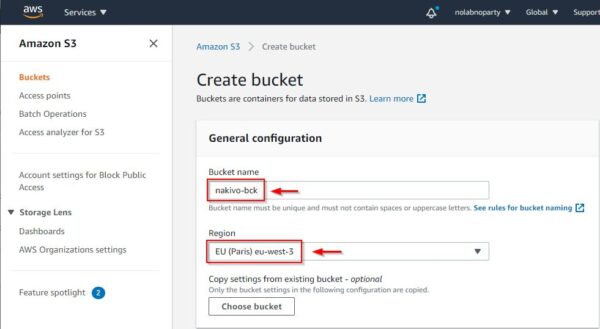
Enter the Bucket Name and specify the Region.
Click the just created group name to assign the ACL.
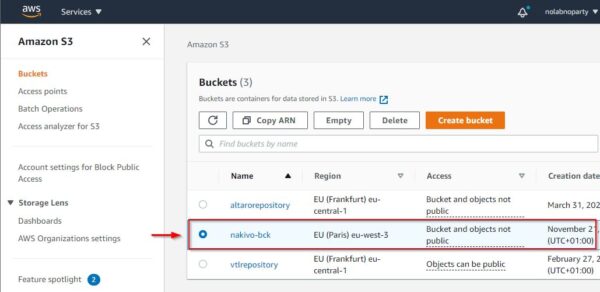
Specify the user allowed to access the Bucket then click Save changes.

Configure the AWS S3 repository
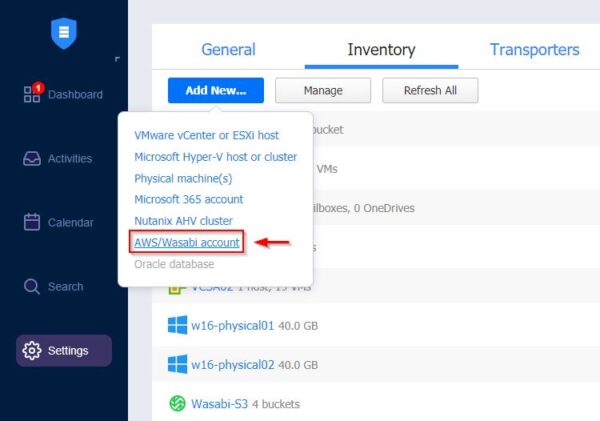
To configure the AWS S3 in Nakivo, you need first to add the AWS account to the Inventory. Access the Configuration > Inventory area and click Add New. Select AWS/Wasabi account to specify the account needed to access the Bucket.
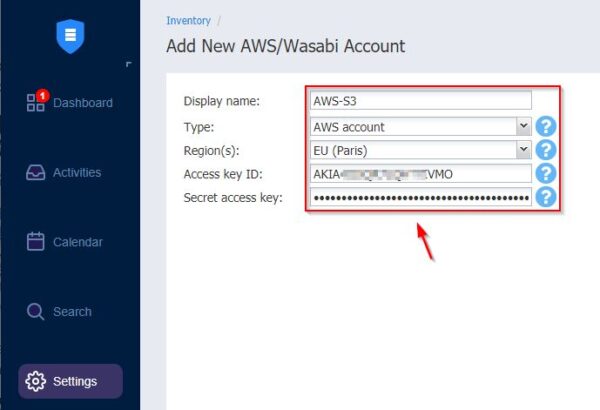
Enter a Display Name then the Access key ID and the Secret access key noted during the creation of the AWS account. Click Add.
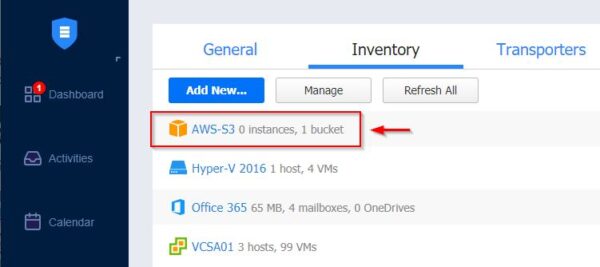
The AWS S3 account has been created.
Now access the Repositories tab and click Add Backup Repository > Create new backup repository.
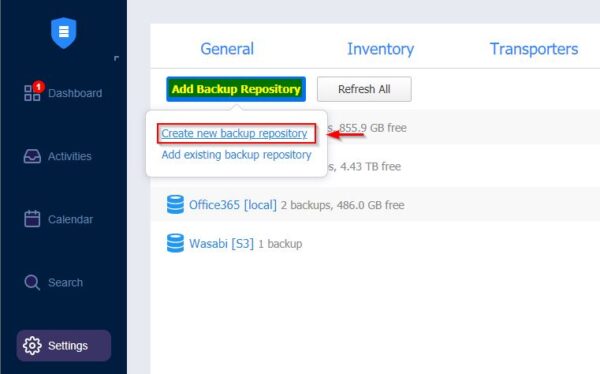
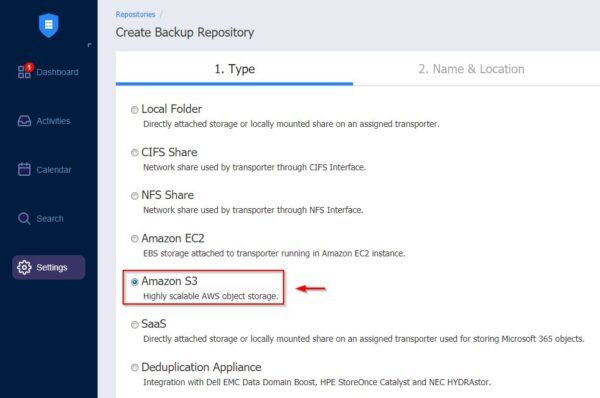
Select Amazon S3 and click Next.
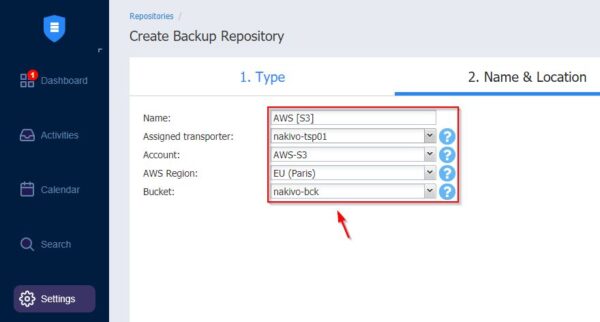
Enter the Name for the repository, select the previously created AWS Account, AWS Region and the Bucket used to store the backups. Click Next.
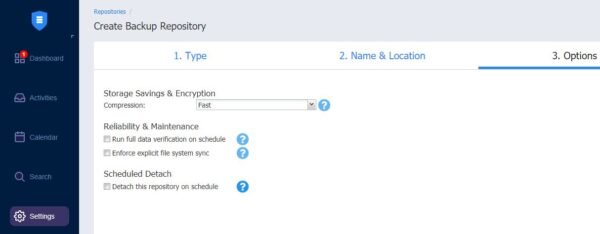
Specify the requested options if any then click Add.
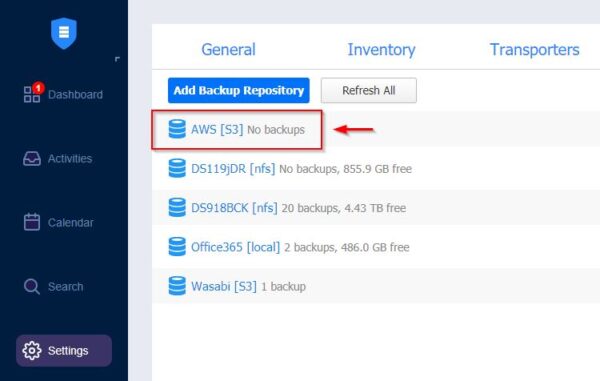
The AWS S3 object storage repository has been created successfully.
Create the Backup Job
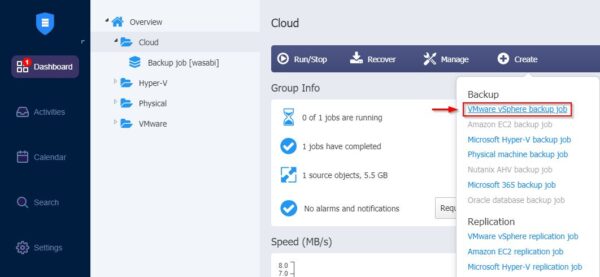
Once the repository has been created, it is now possible to create a new Backup Job to save the backups in AWS S3. From Nakivo’s dashboard, select Create > VMware vSphere backup job.
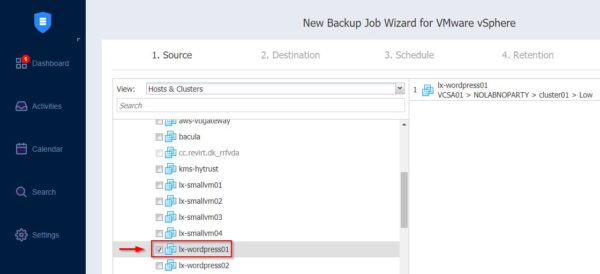
Select the VMs to backup and click Next.
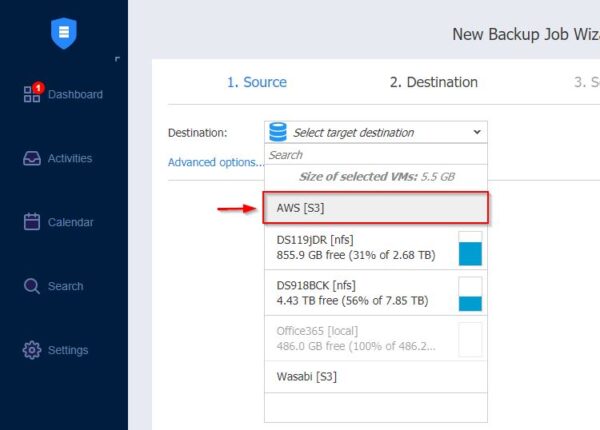
Select the created AWS repository from the Destination drop-down menu. Click Next.
Specify the desired Schedule and click Next.
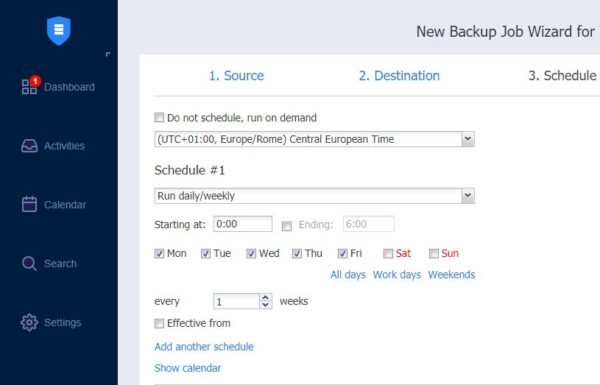
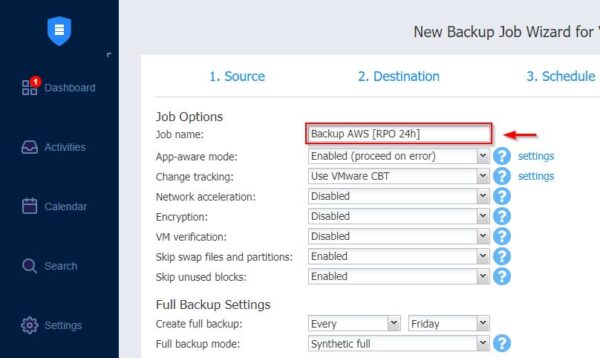
Enter the Job name and required options.
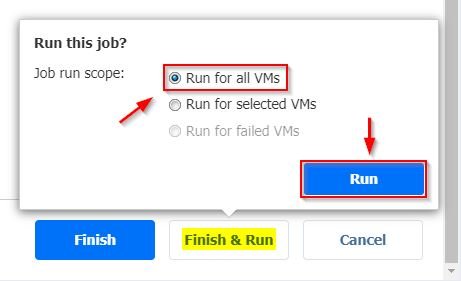
Click Finish & Run then select Run for all VMs > Run to run the backup immediately.
The backup job is being executed.
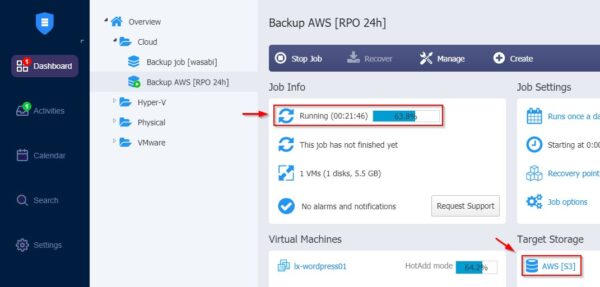
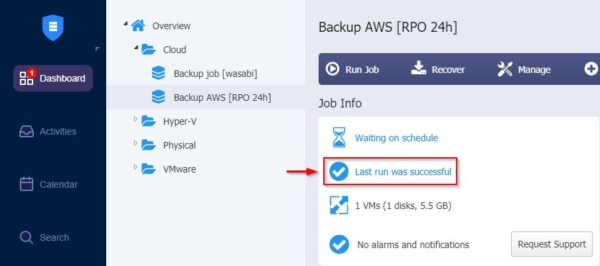
After some minutes, depending on the VMs to protect and the available bandwidth, the job completes successfully.
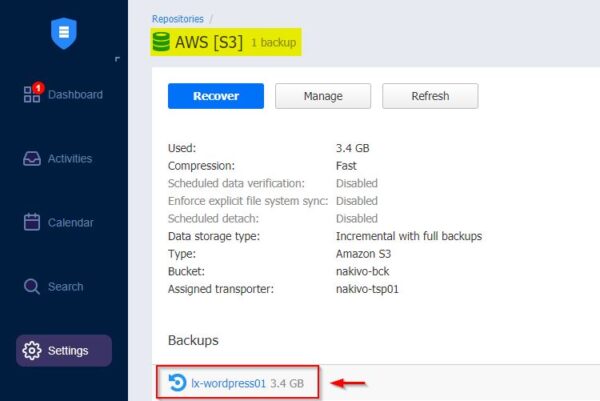
Looking at the AWS repository in Nakivo, you can check the stored backups in the repository.
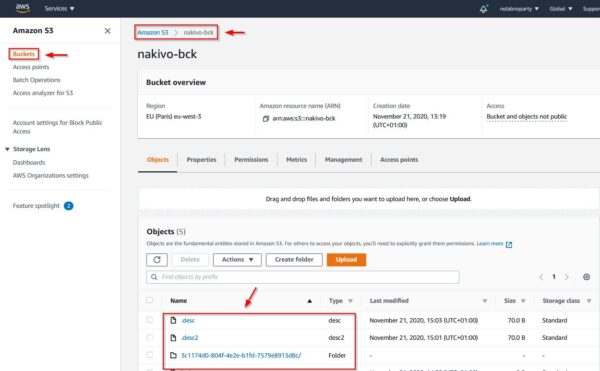
The backup stored in the AWS’s Bucket.
Saving Nakivo backups directly in AWS S3 allows you to secure your corporate data to an external location adding an extra protection in case of a disaster in the local repository.


