Veeam Backup for Microsoft Azure: installation – pt.2

Veeam Backup for Microsoft Azure (VBA) is a new product by Veeam to protect running workloads in Azure and can be easily installed from the Azure Marketplace.
Backups of Azure VMs are saved to the storage accounts’s containers used in Microsoft Azure for high availability, cost-effective and long-term storage.
Blog Series
Veeam Backup for Microsoft Azure: configure Azure – pt.1
Veeam Backup for Microsoft Azure: installation – pt.2
Veeam Backup for Microsoft Azure: configuration – pt.3
Veeam Backup for Microsoft Azure: backup and restore policies – pt.4
Install Veeam Backup for Microsoft Azure
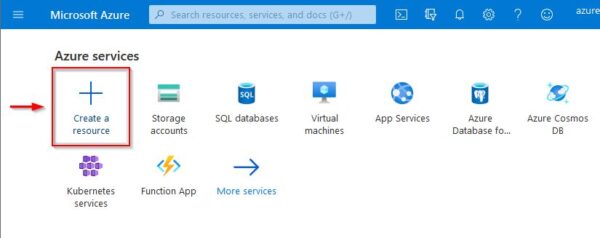
Login to Azure portal and click on Create a resource under Azure services.
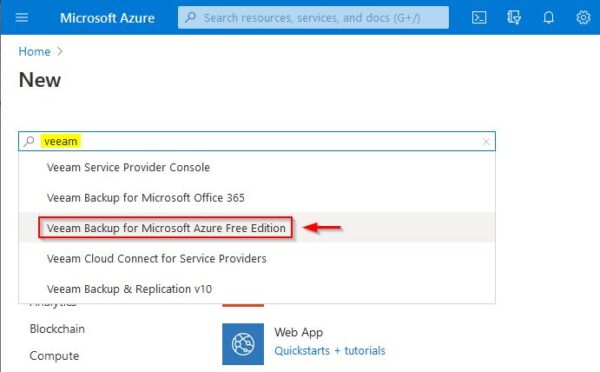
Type veeam in the search box to quickly find the application to use then select Veeam Backup for Microsoft Azure from the list.
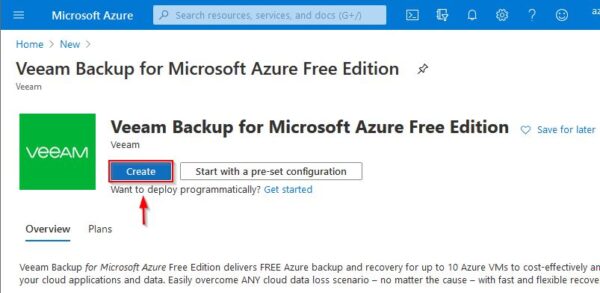
Click Create to deploy the product in your Azure environment.
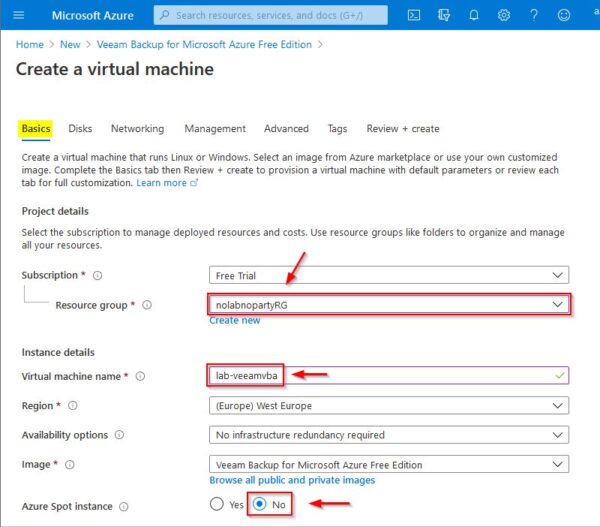
In the Basics tab, specify the Subscription plan to use and select from the Resource group drop-down menu the Resource Group previously created. Enter the Virtual machine name and DO NOT enable the Azure Spot Instance option.
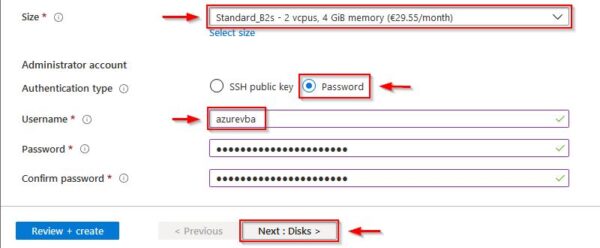
As Size, Veeam VM requires a minimum of 2 vCPU and 4GB of RAM. By default, the installer selects the optimal VM size based on the performance and low cost maintenance. Select Password as Authentication type and specify Username and Password to login to the application. Click Next : Disks > to specify the disk type to use for backups.
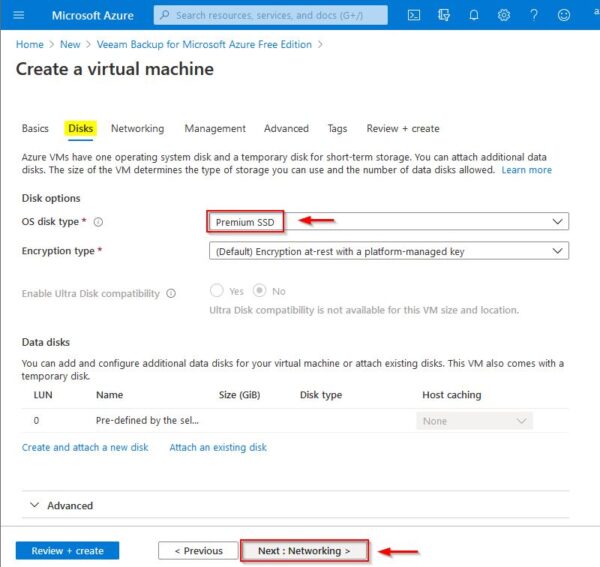
For a better performance select Premium SSD option from the OS disk type drop-down menu. Some options cannot be changed since are pre-configured by the package. Click Next : Networking >.
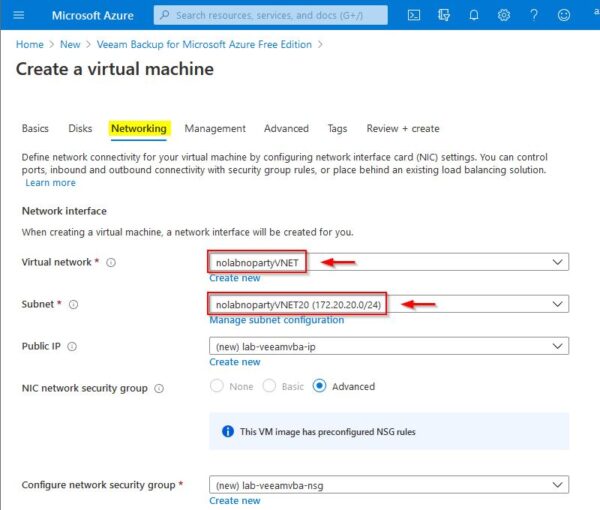
Select from the Virtual network drop-down menu the object created during the configuration of the Azure environment as well as the Subnet to use.
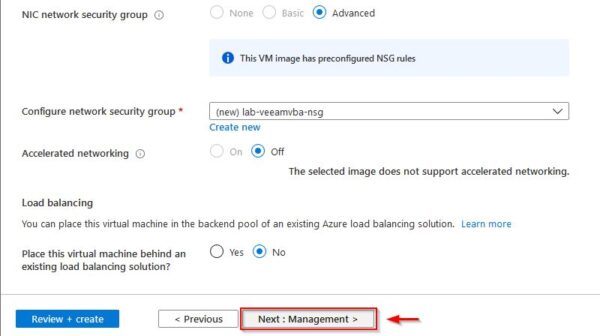
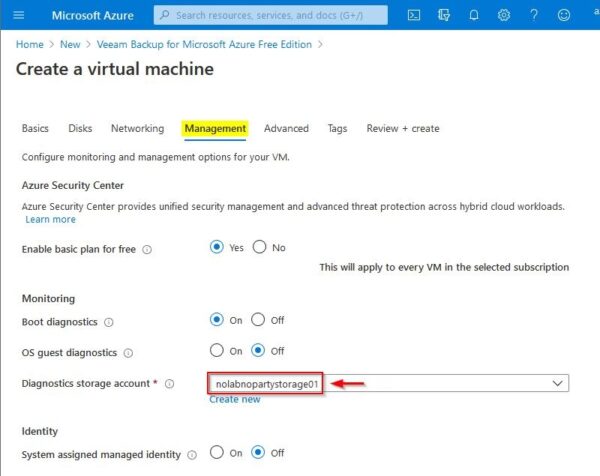
Click Next : Management >.
Select the previously created Storage Account for the Diagnostic storage account parameter.
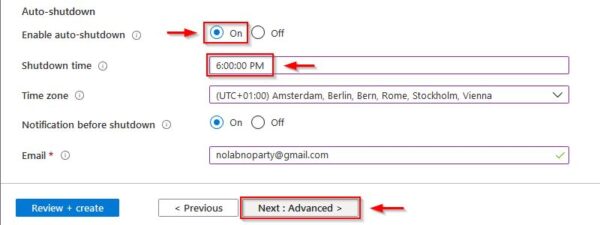
Set Enable auto-shutdown as On and specify the Shutdown time. This is a cool feature that allows you to shutdown the VM when not in use to save some money. Click Next : Advanced >.
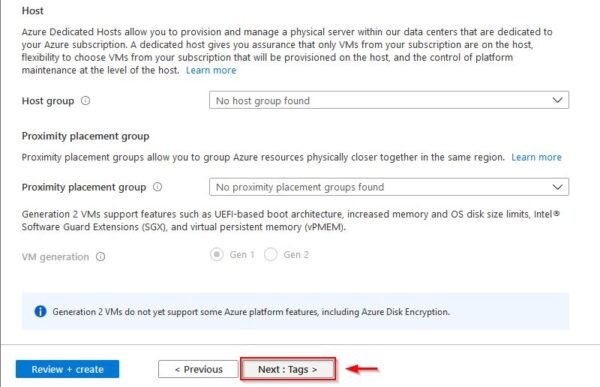
Click Next: Tags >.
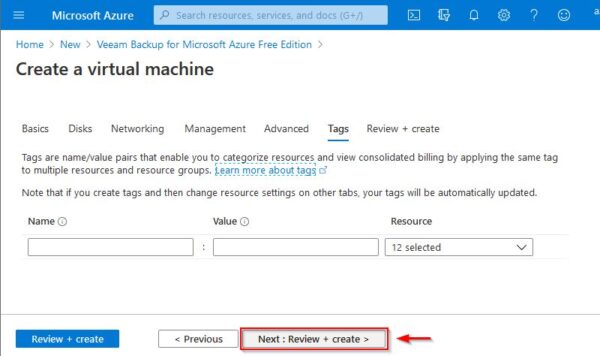
Click Next: Review + create >.
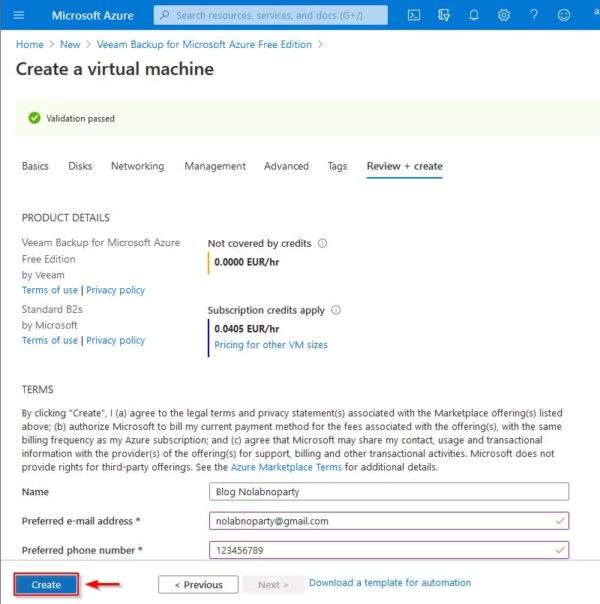
Once validated successfully, click Create to deploy Veeam Backup for Microsoft Azure appliance.
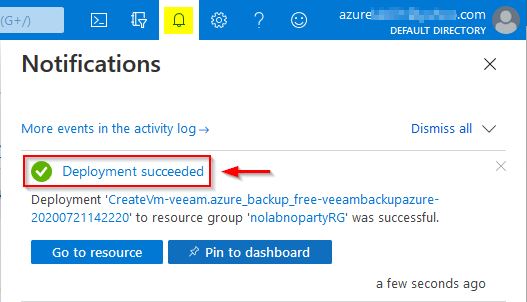
After few seconds the appliance is deployed in your Azure environment.
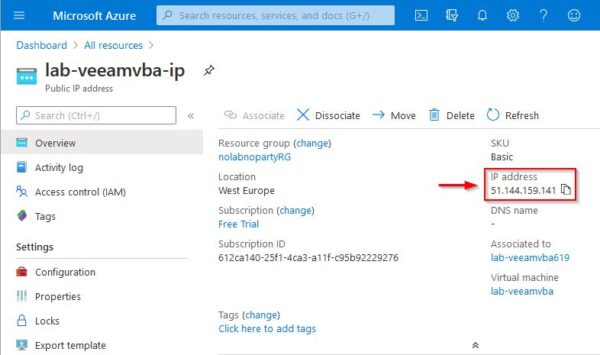
Go to Dashboard > All resources and select the deployed appliance to identify the IP address assigned to the VM by Azure. This IP address will be used to connect the VM via HTTPS protocol.
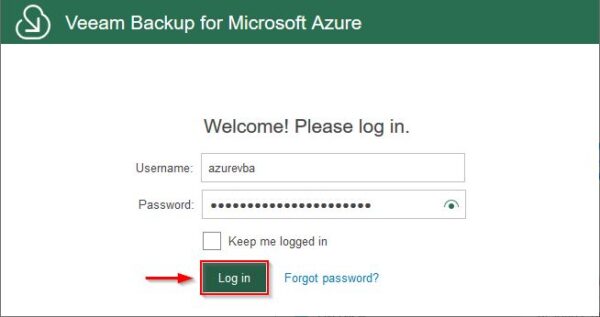
Enter the address https://<IP_address_VBA> in your preferred browser to connect the Veeam’s appliance. Enter the credentials specified during the configuration and click Log in.
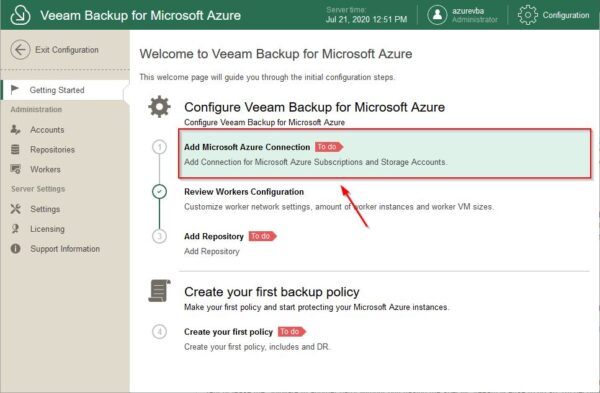
The Veeam Bakup for Microsoft Azure’s Getting Started page is displayed. From this page you can configure Veeam to reflect your Azure environment and create the required backup jobs.
Part 3 will cover the configuration of the software to allows the correct protection of running workloads in your Azure environment.


